From CAD File to Delivered Part
No black boxes. No vague timelines. This page walks you through every single thing that happens after you upload a file, including the parts most shops would rather not talk about.
Eight Stages, Zero Surprises
Click any stage to see exactly what happens, who does it, and what you should expect to receive on the other side.
You Upload the File
Everything starts with a file. We accept the three formats that cover 99% of real-world engineering work.
What you send
- STL for meshes and organic shapes
- STEP or STP for parametric engineering parts
- OBJ if that is what your CAD exports
- Up to 500 MB per file, up to 50 files per order
What we do with it
Your file lands in an encrypted queue on our local storage. Nothing is uploaded to a cloud service or shared with third parties. A ticket number is issued immediately and you get a confirmation email with that number.
Design-for-Additive Review
An engineer looks at your file before anyone quotes it. This is where we catch the problems that would otherwise show up as failed prints.
What we check
- Wall thickness against minimum for the chosen process
- Mesh integrity — holes, flipped normals, non-manifold edges
- Overhangs that will need support structures
- Tolerance callouts that the process cannot hold
- Feature sizes below the printer's resolution
What happens if something is wrong
We do not silently fix your file and hope you do not notice. If the part needs changes, we send you a marked-up screenshot with specific issues flagged. You decide whether to fix the model or let us repair it for a flat fee.
Quote With Real Numbers
A firm price, a real lead time, and the breakdown behind both. No “contact us for pricing.”
What the quote includes
- Price per part and total order price
- Material and process recommendation
- Estimated print time from the slicer
- Ship date, not a shipping window
- Any post-processing line items, itemized
What you do next
Reply with approval and we start the job. Ask for changes and we revise the quote. Decide not to proceed and the file is deleted from our system within 48 hours with no follow-up emails. See the Privacy Policy for the full data handling rules.
Slicing & Orientation
The most technical stage, and the one that determines whether your part comes out strong or fails on the first drop.
What the slicing engineer decides
- Orientation to put layer lines where loads are lowest
- Support placement that minimizes post-processing marks
- Infill pattern — grid, gyroid, or cubic depending on load
- Wall count and top/bottom solid layers
- Temperature and speed for the specific machine and material
Why orientation matters
An FDM part is roughly 40% weaker along the layer direction. Rotating a bracket 90 degrees can mean the difference between a part that lasts a decade and one that cracks in the first week. We document the orientation and rationale in your order file.
The Print Runs
Your job gets assigned to a specific machine, monitored through the print, and photographed at the end.
During the print
- Machine ID and operator name logged to your file
- Temperature and extrusion monitored every 30 minutes
- Time-lapse camera captures the entire build
- Any anomaly triggers an immediate operator intervention
If the print fails
We catch it, stop the machine, and restart. You are not charged for the failed attempt. The only reason a failed print reaches you is if it passed every QC gate, which is effectively never. Our 2025 rework rate was 0.4%.
Post-Processing
Supports come off, surfaces get finished, and hardware gets installed. This is where a raw print becomes something you can hand to a customer.
Standard on every order
- Support removal with flush cutters
- Contact points sanded to 400 grit
- Stringing and blobs removed
- Compressed air and IPA wipe-down
Optional add-ons
Wet sanding up to 2000 grit, vapor smoothing for injection-molded finish, color matching with automotive-grade paint, heat-set inserts, threaded hardware, and magnet installation. All priced individually and itemized on the quote.
Four QC Gates
Every part passes through the same inspection routine, regardless of size or order value.
Gate by gate
- Gate 1 — Visual inspection under bench lighting
- Gate 2 — Dimensional check with digital calipers
- Gate 3 — Photograph from three angles for your file
- Gate 4 — Final sign-off by the technician who printed it
If a part fails any gate
It is reprinted at our cost before anything ships. If a batch consistently misses tolerance, we stop production and call you. Full details of our reprint guarantee are in the Refund Policy.
Pack & Shipment
Parts are packed to survive carrier handling, labeled with your PO, and tracked from our dock to yours.
How it ships
- Foam wrap on every part, rigid box, sealed with QC sticker
- Carrier: USPS, UPS, or FedEx depending on destination
- Signature required on orders over $500
- Local pickup available at our San Francisco shop
After it lands
Unbox, use the parts, and let us know if anything is off. We cover reprints and exchanges for 30 days from delivery. Full conditions are in the Shipping Policy.
What You Do, What We Do
Clean division of labor. Nobody is left guessing whose job something is at any point in the process.
You handle
- Providing an accurate CAD file
- Specifying the material and tolerance requirements
- Confirming the quote and any revision
- Approving the sample before production runs
- Final regulatory compliance in your market
- Field testing and end-user validation
We handle
- Printability review and DFAM feedback
- Slicing, orientation, and support strategy
- Machine selection and print monitoring
- Post-processing, finishing, and hardware install
- Four QC gates before shipment
- Packing, tracking, and delivery to your dock
What Two Days Actually Look Like
A real hour-by-hour trace of a standard FDM order placed on a Tuesday morning. Everything below happened exactly as timestamped.
Customer submits a STEP file through the appointment form. Ticket #PF-2026-0412 issued automatically.
Reviewed for printability. Two small mesh errors found on the internal rib structure.
Screenshot with the two flagged areas. Recommendation: let us repair for $25 flat.
Payment processed. Job moves to the slicing queue.
Orientation chosen to put layer lines perpendicular to the primary load path. Print time estimated at 14 h 20 min.
Prusa XL with PETG. Operator initials logged to the job file.
Machine ran unattended overnight with remote monitoring. Zero anomalies logged.
Supports removed, contact points sanded, IPA wipe-down done. Photographed from three angles.
Dimensional report clean. Technician signed off with initials.
Packed with foam wrap, sealed, handed to UPS. Tracking number emailed to customer.
The Software and Hardware Behind Every Job
Most shops will not tell you what they use. We think it is worth knowing, because the tool determines what is possible.
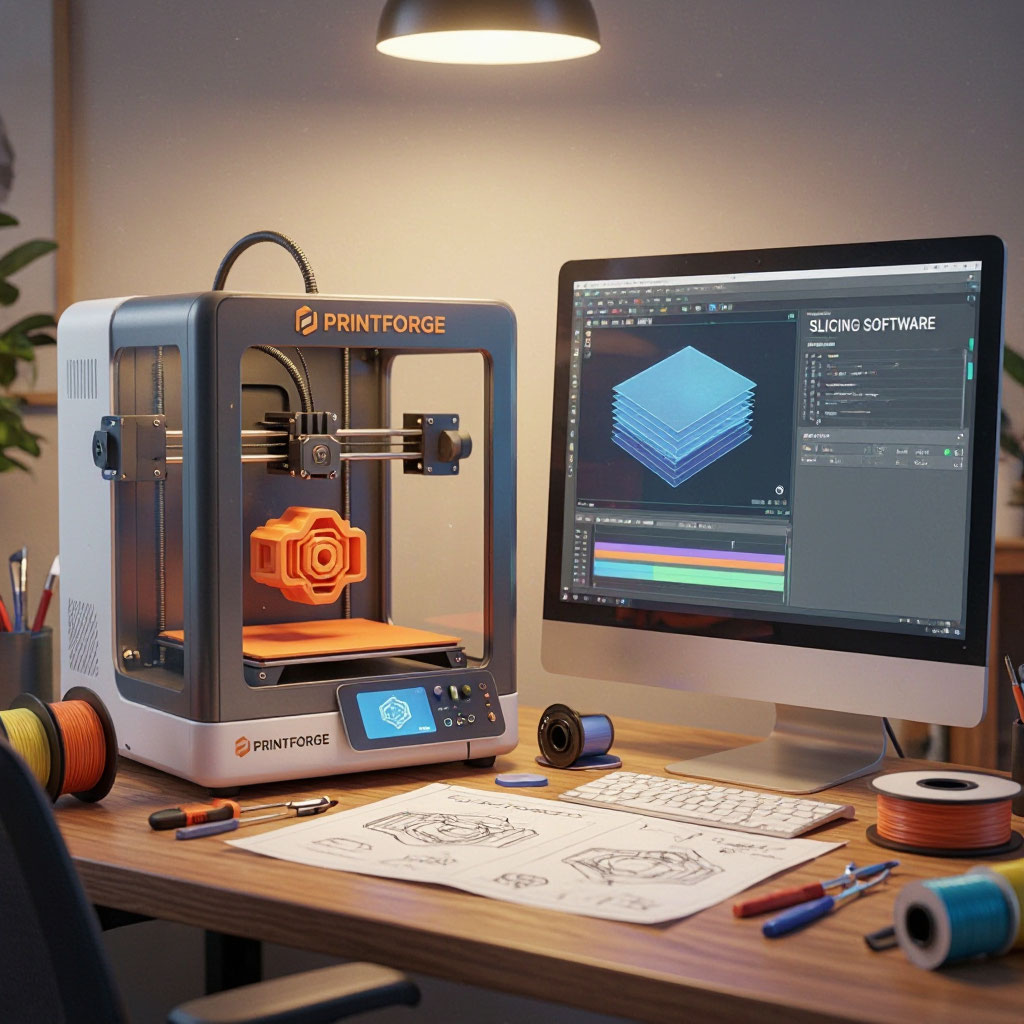
PrusaSlicer & Cura
For FDM toolpath generation. Custom profiles tuned for each material-printer pairing.
PreForm & Magics
For SLA and SLS support generation and nesting. Batch layouts optimized for volume runs.
Netfabb & Blender
Mesh repair and cleanup. Manual modeling when the customer cannot supply a usable file.
GOM Scan & Calipers
3D scanning for reverse engineering and first-article inspection on critical dimensions.
Things That Can Go Wrong
Every shop has failure modes. Here are the ones we have actually seen, how often they happen, and what we do about them.
Print failure overnight
A nozzle clog or filament tangle stops the print mid-build. Caught by the morning shift, reprinted the same day, no charge to you.
File needs repair
Holes, flipped normals, or non-manifold geometry. We flag it before printing. Customer fixes it, or we fix it for $25–$95 depending on scope.
Material out of stock
Specialty grades like PEEK can sell out mid-week. We notify you within an hour and offer either a substitute or a one-day delay.
Dimensional drift mid-run
Warping or shrinkage outside tolerance on a production run. We stop the line, notify you, and reprint the affected batch at our cost.
Shipping damage
Carrier mishandles the box. Send us photos within 30 days and we ship a replacement free of charge. See the Refund Policy.
Silent material substitution
We do not swap your material, color, or process without written confirmation. If we cannot make the original spec, we tell you.
A Five-Point Checklist
The orders that move fastest are the ones that arrive with these five things ready. None of them take more than a minute to prepare.
Correct units
Confirm your CAD export is in millimeters, not inches or meters. This is the single most common cause of mismatched scale.
Manifold mesh
Run a quick STL check in your CAD software. If it reports back-facing normals or open edges, we will flag them, but fixing them yourself saves a round trip.
Quantity and deadline
Say the number you need and the date you need it by. If the deadline is tight, tell us upfront so we can check capacity before quoting.
Material preference
If you know the material, say so. If you do not, describe the application — temperature, load, chemicals, sun exposure — and we will pick for you.
Any NDA or IP concerns
Mention it in the message field. We will send our standard NDA or review yours before anything is uploaded. Do not send us designs under NDA by email before we have a signed agreement in place.
Process FAQ
Yes. Every order includes a photograph of the finished part from three angles. For orders above $400, we also send a pre-shipment email with the photos and wait for your written go-ahead before the box leaves the shop.
If the print has not started, you can revise the file at no charge and we re-slice. If the print has already begun, we can stop it and restart with the revised file, but the partial print time is billed. We will quote that difference before doing anything.
By default, files are deleted 90 days after your last order. If you want them stored longer for repeat orders, tell us and we keep them on encrypted local storage. You can request deletion at any time by emailing [email protected]. Details are in our Privacy Policy.
Credit card, ACH transfer, and wire for orders above $2,000. Net-30 terms are available for business accounts after three completed orders. We do not accept cryptocurrency.
Yes. Choose local pickup during checkout and we email you when the part is ready. Pickups are at 2150 Market Street, Suite 340, San Francisco, during shop hours. If you want to inspect the part on-site, call ahead and we will have a technician ready.
The job enters the slicing queue and moves through the eight stages shown at the top of this page. You receive three emails: confirmation of payment, a photograph email once the part is finished, and a tracking number when it ships. Nothing else unless something unusual happens.
Everything clear? Send us a file.
The whole process starts with one upload. If anything on this page is still unclear, book a call and we will walk through it with you.
Now You Know the Whole Process.
The next step is uploading a file. Everything after that is our job.